Controls and Settings
Minecraft Brightness Settings: A Practical Guide
Improve visibility while checking actual in-game lighting separately.
Choose Your First Adventure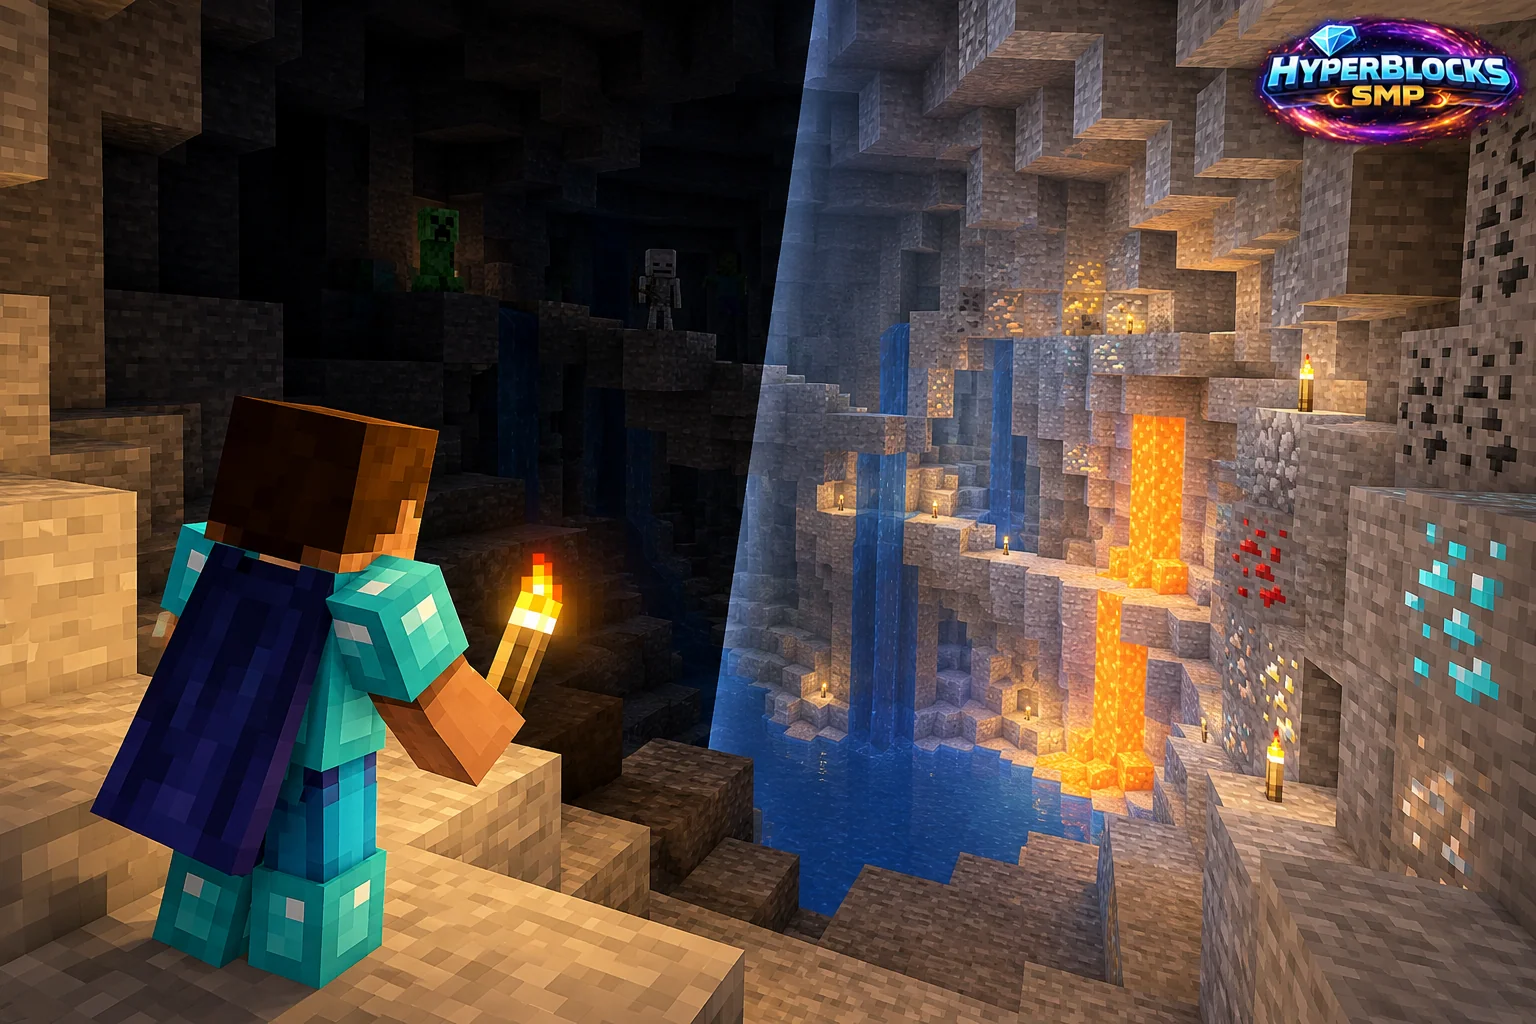
Separate Visibility from World Lighting
Brightness settings affect how the scene appears on your display. They do not automatically change the world’s underlying light conditions or make every surface unsuitable for mob spawning. A comfortable picture and a well-lit base are related visual goals with different gameplay checks.
Compare Day and Night Views
Stand in a familiar room and adjust the setting in small steps. Read storage labels, inspect a dark corner and look outside. Repeat the check at night or in a naturally dim area. Keep the result comfortable without washing out the contrast that helps you read the shape of blocks and pathways.
Review a Base Entrance
Walk the route from the outside path to the storage area. If the setting makes the route visible but important corners remain poorly lit in game, improve the actual lighting layout. Place lights where players need to see steps and doorways, then inspect the finished route from both directions.
Avoid a False Safety Signal
Do not use a bright display as the only evidence that an area is protected from hostile spawns. Check the relevant blocks, lighting and current game mechanics separately.
Related planning: Minecraft Chat Settings: A Practical Guide; Minecraft Particle Settings: A Practical Guide.
Put This Into Practice on HyperBlocks
Minecraft client settings and HyperBlocks server menus are different tools. Once connected, use /m for the Hyper Menu and follow the current joining instructions for your edition and version.
Reference and Further Reading
Check your edition, platform and saved bindings. Java defaults are identified explicitly.
Your Next Adventure
Get Comfortable, Then Make It Your World
Set up controls you can rely on, then join HyperBlocks and choose your first project. Survival offers a shared world for building and exploring. For PvP, read the Hyper Duels guide.