Equipment and Decisions
Lanterns or Torches: Choose Lighting for a Build
Choose lighting that fits the working phase and leaves routes and growth spaces clear.
Start Building on HyperBlocks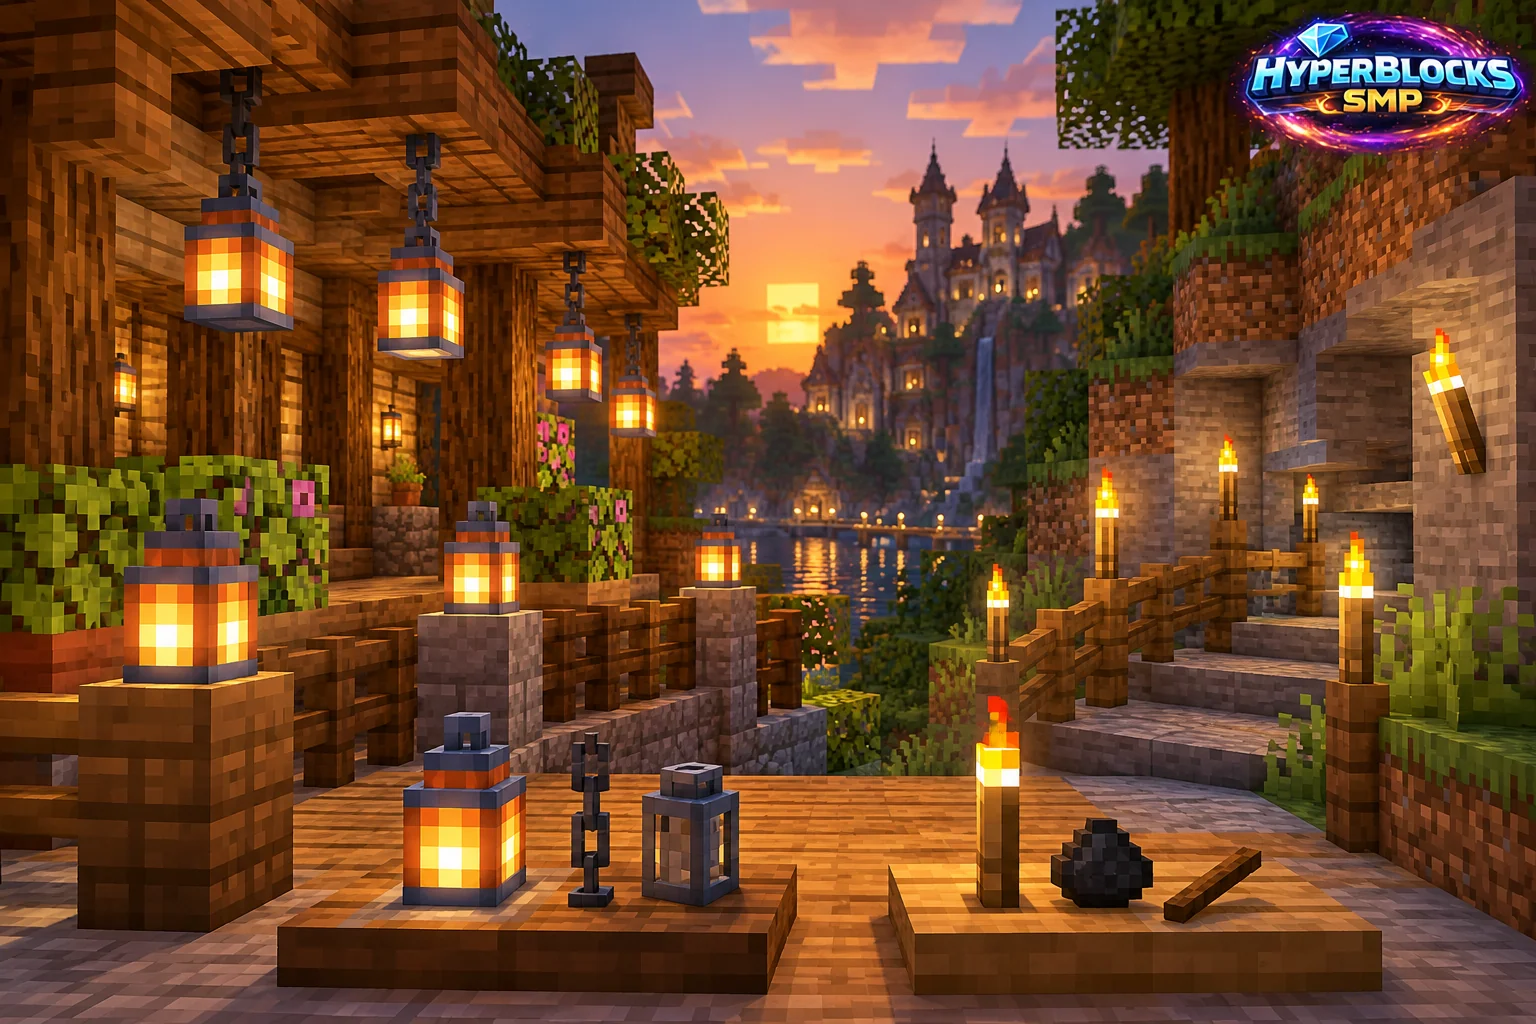
Understand the First Option
Torches are a practical choice for quickly marking routes and lighting an unfinished work area. They are easy to place during excavation or construction. Keep them where they explain the path and inspect the actual light conditions instead of assuming a bright client setting changes spawning rules.
Understand the Alternative
Lanterns can suit a finished building detail, hanging arrangement or more deliberate visual rhythm. Plan their supporting blocks and placement before repeating the pattern. A decorative lighting style still needs to serve the room and avoid blocking crop growth or a narrow walking route.
Compare Them for Your Task
Use temporary lighting while the shell is open, then compare the finished light arrangement from the normal entrance. Inspect corners, stairs and connected spaces separately. Different light variants can have different behavior, so do not assume every similarly shaped source is interchangeable.
Make the Next Step Deliberate
Keep the route readable at night and preserve a few replacement lights in storage. On HyperBlocks, place lights only where you have permission and avoid treating a wall or claim boundary as proof that every surrounding surface is spawn-proof.
Play This on HyperBlocks
On HyperBlocks Survival, land claims let you set permissions around your build. Plan the boundary before placing shared storage, then give friends only the access they need.
Reference and Further Reading
Build layouts are original suggestions. Check your edition, version and current server menus when applying game mechanics or server settings.
Your Next Adventure
Give Your Next Build a Place to Grow
Turn your building plan into a Survival home, then choose who can build, open containers and visit. Start with a small claim around your first workshop and expand when you need more room.