Learning Paths
Minecraft Building Learning Path: Plan, Build and Expand
Move from a footprint and materials list to a finished Minecraft build with practical storage and access.
Start Building on HyperBlocks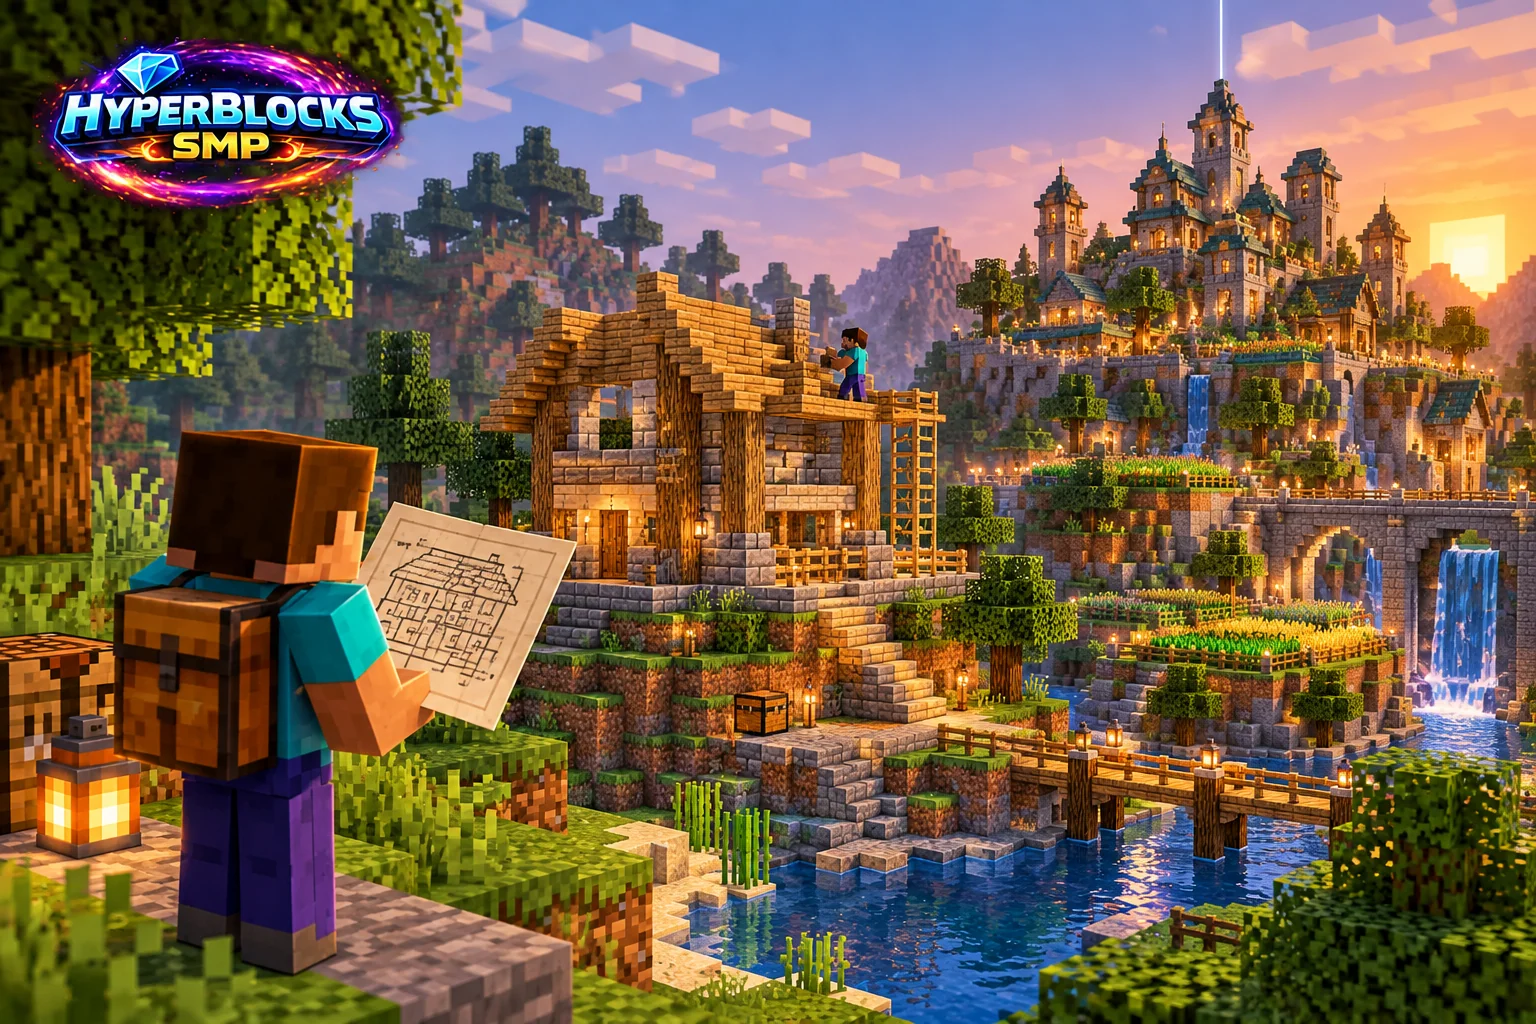
Define the Room Before the Roof
List the work the building must support. Place temporary markers for storage, crafting and walking space. Check the room from the doorway so the entrance does not open directly into a chest or a furnace.
Minecraft Starter House Layout: Build the Rooms You Need
Plan a compact starter house around storage, crafting, a bed and a clear route to the farm.
Build a 7 by 7 Minecraft Workshop
Build a small workshop with separate crafting, smelting and storage sides and a usable central aisle.
Test the Palette in a Small Sample
Build a short wall and one roof edge before collecting a large quantity of materials. View the sample in daylight and at night. Use the expensive accent sparingly until you know where the outline needs emphasis.
Minecraft Building Palettes: Test a Small Wall First
Choose a main material, a supporting material and a restrained accent before collecting resources for a large build.
Build a Roof Palette Test Before Finishing a House
Test a small roof edge and wall sample before collecting materials for a complete house.
Build Access and Lighting Early
Keep a clear route from the entrance to the work area. Add temporary lighting while the structure is open and check unfinished edges before carrying valuable equipment upstairs. Scaffolding, ladders and stairs suit different jobs.
Minecraft Base Lighting: Visibility Without Clutter
Plan lighting around entrances, work areas and paths before adding decorative fixtures.
Ladders, Stairs or Scaffolding: Choose Building Access
Choose permanent travel access or temporary building access according to the job.
Finish One Useful Area
Complete storage, doors and paths before expanding the footprint again. On HyperBlocks, include exterior working space in the claim and choose visitor permissions deliberately. A finished small workshop is a useful base for a larger build.
Build a Six-Bay Labeled Storage Wall
Organize six clear storage categories while preserving chest access and room for overflow.
Plan Permissions for a Shared HyperBlocks Base
Separate building, storage, visitor access and administration when several players share a Survival base.
Play This on HyperBlocks
On HyperBlocks Survival, land claims let you set permissions around your build. Plan the boundary before placing shared storage, then give friends only the access they need.
Explore the Topic Library
Use these focused references when your next step involves a particular item, encounter or setting.
- Minecraft Loom Recipe: Ingredients, Crafting, and Uses
- Minecraft Cauldron Recipe: Ingredients, Crafting, and Uses
- Minecraft Lectern Recipe: Ingredients, Crafting, and Uses
- Minecraft Note Block Recipe: Ingredients, Crafting, and Uses
- Minecraft Jukebox Recipe: Ingredients, Crafting, and Uses
- Minecraft Chain Recipe: Ingredients, Crafting, and Uses
- Minecraft Iron Bars Recipe: Ingredients, Crafting, and Uses
- Minecraft Clock Recipe: Ingredients, Crafting, and Uses
- Minecraft Spyglass Recipe: Ingredients, Crafting, and Uses
- Minecraft Lead Recipe: Ingredients, Crafting, and Uses
- Minecraft Name Tag Recipe: Ingredients, Crafting, and Uses
Reference and Further Reading
Build layouts are original suggestions. Check your edition, version and current server menus when applying game mechanics or server settings.
Your Next Adventure
Give Your Next Build a Place to Grow
Turn your building plan into a Survival home, then choose who can build, open containers and visit. Start with a small claim around your first workshop and expand when you need more room.